| • | HPN chart is a web-based application. Following is recommended |
| o | Operating System: windows XP or later |
| o | Internet Browser: Internet explorer version 7 or higher |
| o | No pending windows updates |
| • | Add following URLs to “trusted sites” for ie |
| o | https://mychartwriter.com |
| o | https://rx7.drfirst.com |
| • | To add a URL to trusted sites list, do the following; |
| o | Go to “Internet options”. You can access “Internet options” by |
| ▪ | click on “Tools” icon in the upper right hand corner OR |
| ▪ | Press “Alt+X” when the ie is open on the screen OR |
| ▪ | In Windows 7, Go to “Control panel”, click on “Network and Internet” and then click on “Internet Options” |
| ▪ | In Windows XP, you can go to “Control panel” and then find icon for “Internet Options” |
| o | It will open a new window with multiple tabs. Select the tab “Security” |
| o | Next you will have to click on icon “Trusted sites” |
| o | Next click on icon “sites” just below the main icons |
| o | This will open a new window where you can type the URL in a text box on the top and click on “Add” |
| o | This will add the site to trusted sites list. |
| o | You can click “Close” to close this window and click “OK” to close the other window. That's all with adding a site as a trusted site |
| • | Change setting to always open pop-up windows as a new tab |
| o | Open “Internet Options”, see above how you can open that |
| o | The window that open is divided into multiple tabs, we will select “general”. this is the first tab and system open this by default |
| o | The “general” tab is further divided into sections; “Home Page”, “Browsing History”, “Search”, “Tabs” and “Appearance”. |
| o | Under the section “tabs” we can see “Settings” icon. Click on this icon |
| o | This will open a new window. This window also has several sections; |
| ▪ | Enable Tabbed Browsing |
| ▪ | When a new tab is opened, open: |
| ▪ | When a pop-up is encountered: |
| ▪ | Open links from other programs in: |
| o | There are three options under “When a pop-up is encountered:” |
| ▪ | Let Internet Explorer decide how pop-ups should open |
| ▪ | Always open pop-ups in a new window |
| ▪ | Always open pop-ups in a new tab |
| o | We will select the option “Always open pop-ups in a new tab” |
| • | Make sure you have latest version of Adobe PDF viewer |
| • | Make sure you have properly installed “AlternaTiff Viewer” |
| o | To install “AlternaTiff” go to http://www.alternatiff.com/ |
| o | Depending on your operating system, you will need to install 32-bit or 64-bit version of the “AlternaTiff” |
| • | To find what operating system you using, right click on “My Computer” and select “Properties” at the end of the menu |
| • | A new window will open where you see what operating system you are using |
| o | Click on the link provided on the above mentioned page and follow the instructions |
| o | To test if “AlternaTiff” is properly installed, you can go to this link http://www.alternatiff.com/testpage.html |
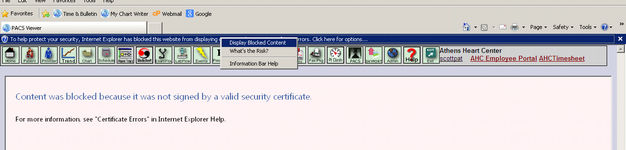
| 1. | For Windows XP machines |
Navigate to the PACS icon, on the top bar that appears (as in the image below), click on it, then click Display Blocked Content.
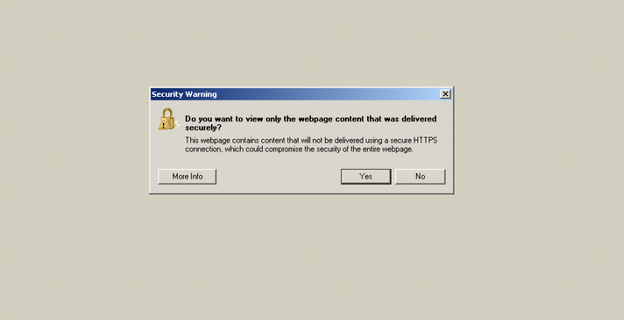
On the bow that appears below, click Yes.
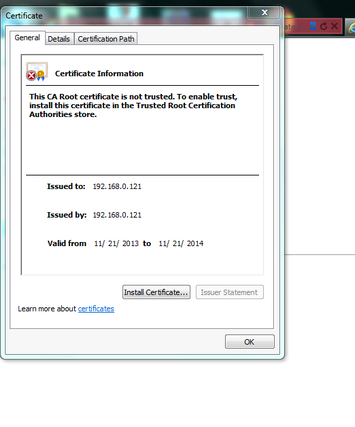
| 2. | For windows 7 machines, open a new tab, navigate to https://192.168.0.121. Click on the link for Continue to this website (not recommended).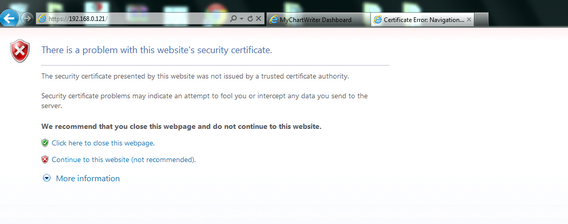 |
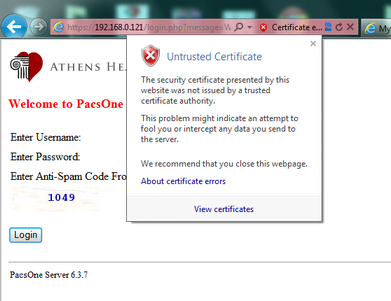
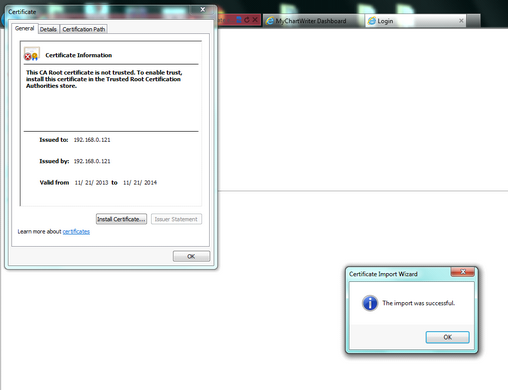
In the address bar, click on the red x, then click View certificates.
Click on Install Certifies…
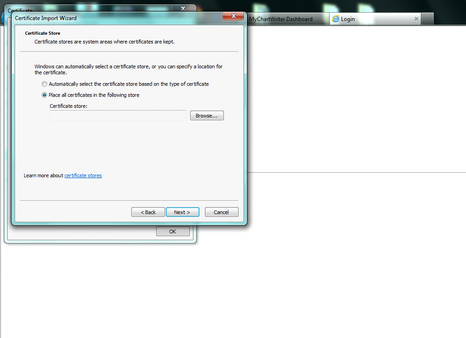
Click on Place all certificates in the following store, click Browse.
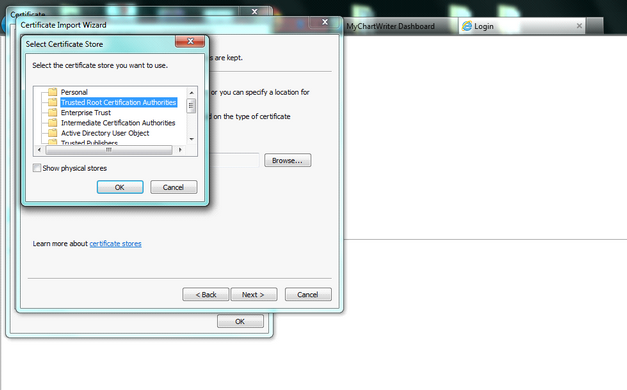
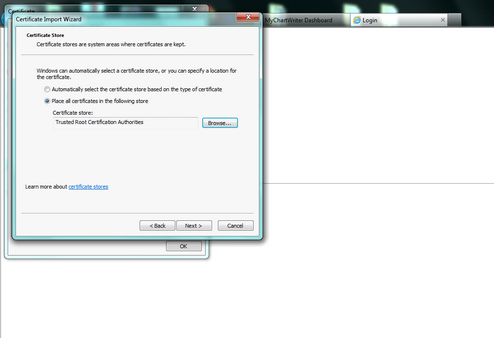
Click Trusted Root Certification Authorities, then click OK.
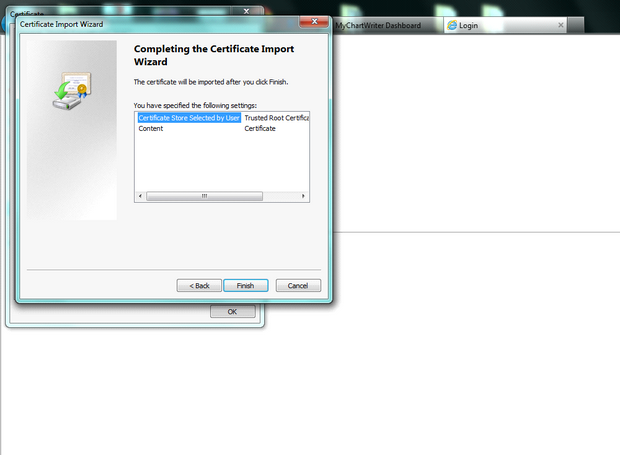
Click Next >.
Click Finish.
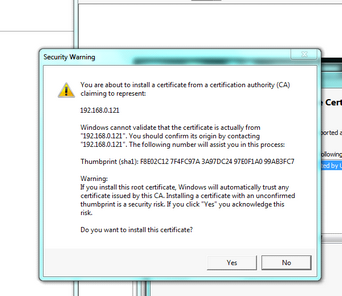
Click Yes on the window that opens.
Click OK on the dialog box that opens.
Click OK to close the window.

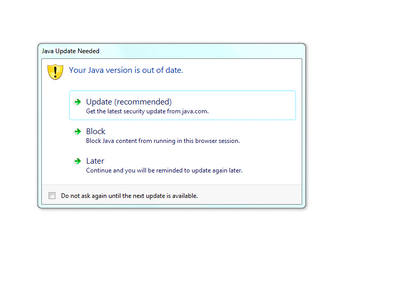
Depending on the machine a window asking about your Java version. Click Do not ask again, then click Later.
A box may open on the bottom of the screen, click Show all content.

The PACS system should now open.