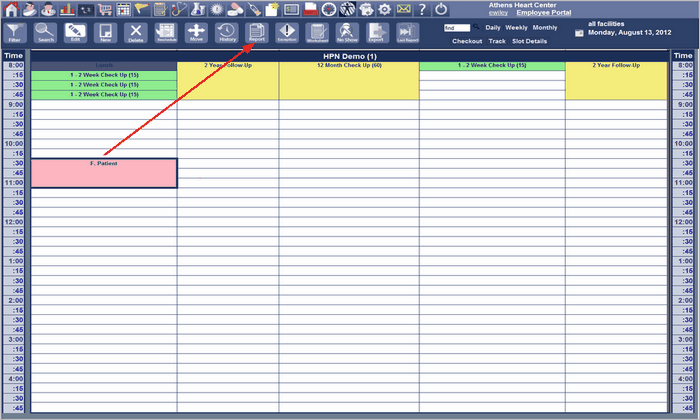
Reports ICON Button
From the Appointment Scheduling Screen click the Reports ICON Button and the Reports Screen will be displayed.
This is the Reports Screen, from here select the type of report to run and the date range then click RUN.
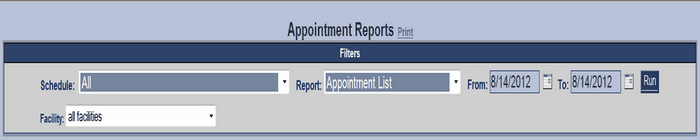
The process for running a report consists of selecting the schedule, selecting the report, selecting the date range and running the report.
| 1. | The report can be run for specific schedule or all the report can include all the schedules. The specific schedule or ALL can be selected from the schedule drop down pick list menu. |
| 2. | The report to be run must be selected from the report drop down pick list menu. For most reports, the title gives a clear indication of what the report covers. A description of the reports can be found in Appendix B. |
| 3. | The date range for the report is indicated by the date range fields labeled TO and FROM. The dates can be entered or selected from the date ICON located at the end of each field. |
| 4. | After completion of the report selections, clicking the RUN command button will cause the report to be created. |
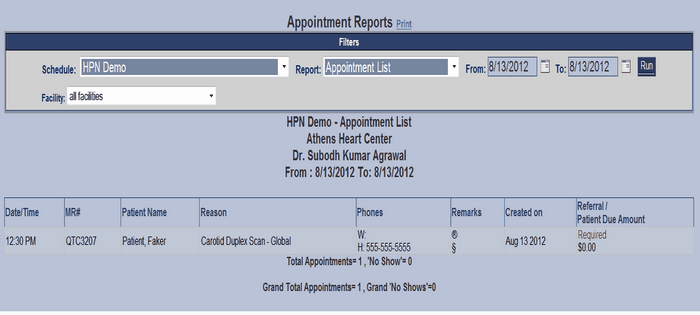
| 5. | For example as displayed below, select HPN Demo from Appointments drop down pick list menu. Select Report Name Appointment List from Report drop down pick list menu. Enter the date range for the report, and then click the Run Button. The Appointment Report is displayed as shown below. |